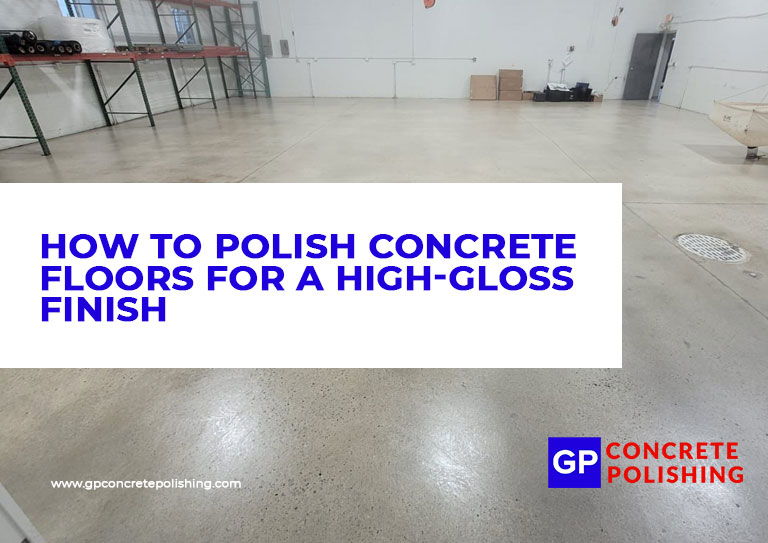
Polishing concrete floors is a popular way to achieve a sleek, high-gloss finish that’s both durable and easy to maintain. Whether in commercial spaces, warehouses, or even residential homes, polished concrete offers a modern look with excellent performance.
When done properly, it enhances the natural beauty of the concrete while resisting stains, scratches, and heavy foot traffic. Understanding the process helps ensure long-lasting results and a mirror-like shine.
Prepare the Surface Thoroughly
Before polishing begins, the concrete must be properly cleaned and prepared to ensure smooth and even results.
- Remove all furniture, debris, coatings, and adhesives from the floor.
- Use a degreaser or heavy-duty cleaner to eliminate oil, grime, or stains.
- Fill any cracks, holes, or joints with a patching compound suitable for polished surfaces.
- Allow the surface to dry completely before proceeding to grinding.
Proper prep ensures that the surface is ready for mechanical polishing and avoids imperfections later on.
Start Grinding with Coarse Grit
Grinding removes surface imperfections and opens up the concrete to accept the polishing steps that follow.
- Begin with a coarse diamond grinding pad (typically 30- or 40-grit) on a planetary floor grinder.
- Work in even passes, overlapping each section to ensure consistent removal.
- Vacuum thoroughly between passes to remove dust and debris.
- If needed, apply a densifier after initial grinding to harden the concrete and improve polish quality.
This stage evens out the surface and lays the foundation for a smooth, reflective finish.
Progress Through Finer Grits
Polishing is done in stages, using progressively finer grits to achieve the desired shine.
- Move from medium grit (80–120) to fine grit (200–400) pads in gradual steps.
- For a high-gloss finish, continue with even finer grits—up to 800, 1500, or even 3000.
- Always vacuum between grits to prevent scratches from leftover debris.
- Use water or a polishing slurry for wet polishing to reduce dust and increase pad life.
Each step further refines the surface, enhancing the reflection and clarity of the final finish.
Apply a Concrete Densifier
Densifiers chemically react with the concrete to harden and seal the surface, making it more durable.
- Choose a lithium- or sodium-based densifier based on your floor’s condition and intended use.
- Spray the densifier evenly across the surface and allow it to penetrate and dry as directed.
- Avoid walking or grinding over it until it’s fully absorbed and cured.
- This step is often done after the 200- or 400-grit polishing pass.
Densifying improves the strength and gloss of the floor while reducing porosity and maintenance needs.
Burnish for a Final Shine and Seal
Burnishing and sealing help lock in the finish and protect the polished surface from daily wear.
- Use a high-speed burnisher with a diamond-impregnated or polishing pad.
- Apply a concrete polish guard or sealer if additional stain resistance is desired.
- Burnish again after applying the sealer to enhance the gloss and cure the topcoat.
- Let the floor sit undisturbed until fully cured—usually a few hours depending on product instructions.
This final step gives your concrete floor that deep, glossy appearance and long-term protection.
Polishing concrete floors for a high-gloss finish takes time, precision, and the right tools. From proper surface prep to progressive grinding, densifying, and sealing, each stage plays a role in creating a sleek, showroom-quality result.
With the right approach, polished concrete can deliver both beauty and strength for years to come.

Comments are closed