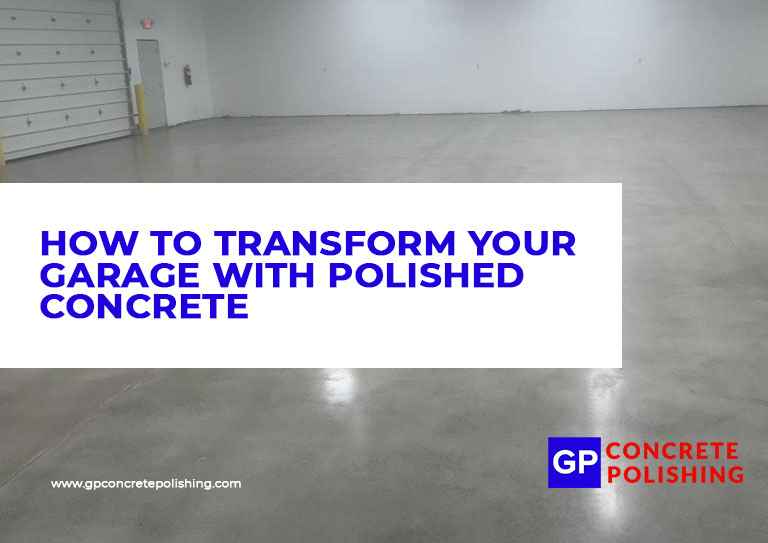
Garages are often overlooked when it comes to home upgrades, but they hold serious potential for functionality and style. One of the easiest ways to elevate your garage space is by installing polished concrete floors.
Not only does this option look sleek and modern, but it’s also durable, low-maintenance, and stain-resistant—perfect for a space that handles vehicles, tools, and heavy use. Transforming your garage with polished concrete can increase your home’s value and make the space more enjoyable to use every day.
Clear Out and Prepare the Space
Before polishing begins, the garage must be completely cleared and prepped for the job.
- Remove all vehicles, tools, shelves, and storage items from the garage.
- Inspect the concrete for cracks, stains, or existing coatings that need to be addressed.
- Clean the surface thoroughly to remove dirt, oil, and debris.
- Patch or repair damaged areas with a concrete repair compound and allow it to dry.
Good preparation is essential for a flawless, long-lasting polish and prevents issues during the process.
Start with Grinding the Concrete
Grinding removes the top layer of the slab and evens out the surface, creating a clean base for polishing.
- Use a floor grinder with metal-bond diamond pads to start the first cut, usually with 30–40 grit.
- Grind evenly across the floor to expose fresh concrete and remove any old sealers or coatings.
- Check for high spots or uneven areas and grind them down to ensure a flat surface.
- Vacuum between passes to keep the floor clean and improve visibility.
Grinding sets the stage for a polished finish by smoothing out imperfections and preparing the surface.
Apply a Densifier to Strengthen the Surface
A densifier is a liquid chemical treatment that reacts with the concrete to make it harder and more resistant.
- Spray the densifier evenly across the floor and let it soak in according to product instructions.
- The chemical reaction reduces the floor’s porosity and increases resistance to stains and wear.
- Allow the floor to dry completely before continuing with the polishing steps.
- This treatment ensures your floor will hold a long-lasting shine and resist damage from heavy use.
Densifying the floor is critical to getting that professional-looking polish and extending its lifespan.
Polish to Your Desired Finish
This step brings out the glossy, reflective look that polished concrete is known for.
- Use progressively finer diamond polishing pads—starting at 100 grit and working up to 800, 1500, or 3000.
- Each pass removes minor scratches and increases the level of shine.
- Choose your finish: matte, semi-gloss, or high-gloss, depending on your style and needs.
- Clean the floor between grits to prevent residue from affecting the polish.
The level of polish you choose can make your garage feel like a professional showroom or a clean, functional workspace.
Seal and Maintain the Finish
Sealing and maintaining the surface keeps your polished concrete looking great for years.
- Apply a concrete sealer or guard to protect against oil, chemicals, and stains.
- Buff the floor with a burnisher for added shine and durability.
- Sweep regularly and mop with a pH-neutral cleaner to keep the surface clean and glossy.
- Reapply sealer as needed, typically every few years depending on use.
With minimal upkeep, your garage floor will stay tough, attractive, and easy to clean.
Transforming your garage with polished concrete isn’t just an aesthetic upgrade—it’s a functional improvement that adds value and makes the space more versatile. Whether you use your garage for parking, a workshop, or a home gym, polished concrete delivers long-term beauty and strength.

Comments are closed