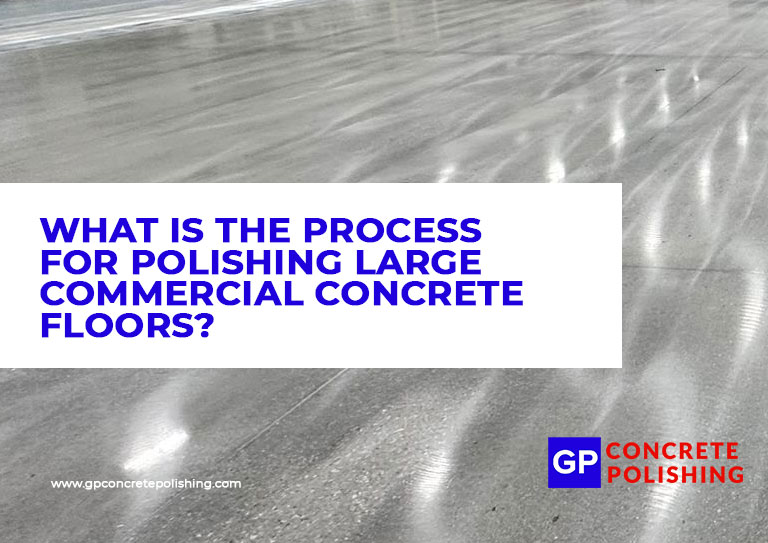
Polishing concrete floors in commercial spaces is a popular way to achieve a clean, modern, and highly durable surface. Whether it’s a warehouse, retail store, or office building, polished concrete enhances appearance while providing long-term performance with minimal maintenance.
The process involves more than just grinding—it requires multiple steps using specialized equipment to create a smooth, reflective finish. Understanding each stage helps business owners and facility managers plan timelines, budgets, and expectations.
Initial Evaluation and Preparation
Before any polishing begins, the floor must be thoroughly assessed and prepared for the work ahead.
- Inspect the floor for cracks, stains, coatings, or damage that needs repair or removal.
- Remove existing coatings, adhesives, or paint using industrial grinders or chemical strippers.
- Fill in cracks and surface imperfections with patching compounds designed for concrete.
- Clean the floor to eliminate dust, oil, and debris, which can affect grinding and polishing quality.
Proper prep ensures the polishing process starts on a clean, level surface, reducing issues later on.
Rough Grinding and Leveling
This phase removes the top layer of concrete to expose a fresh, even surface and sets the foundation for a smooth finish.
- Use heavy-duty grinding machines with metal-bonded diamond segments.
- Begin with a coarse grit (typically 30–40 grit) to remove rough patches, coatings, or surface irregularities.
- Make multiple passes over the floor to ensure consistency and flatten high spots.
- Vacuum up dust and debris between passes to maintain visibility and surface quality.
Rough grinding shapes the concrete and preps it for finer polishing steps that follow.
Hardening and Densifying
To increase durability and prepare the surface for polishing, a chemical hardener or densifier is applied.
- Apply a liquid densifier evenly across the floor using a sprayer or mop.
- Allow time for the chemical to soak into the concrete and react with the calcium hydroxide.
- This reaction creates a denser, harder surface that resists wear and stains.
- After drying, the floor becomes less porous and more capable of holding a polished shine.
Densifying helps strengthen the surface and improves the overall longevity of the finish.
Fine Grinding and Polishing
This is the core of the polishing process, where the surface transforms from matte to glossy.
- Use progressively finer diamond grits (from 80 to 800 or higher) in multiple stages.
- Each pass removes scratches left by the previous grit and brings out more shine.
- For a high-gloss finish, polishing may continue with grits up to 1500 or 3000.
- Between passes, clean the floor thoroughly to avoid swirl marks or uneven finishes.
This phase determines the final appearance—matte, satin, or mirror-like—based on the desired outcome.
Final Sealing and Burnishing
The last step locks in the polish and adds extra protection to the floor’s surface.
- Apply a concrete sealer or guard to protect against moisture, chemicals, and staining.
- Use a high-speed burnisher to buff the floor, enhancing clarity and shine.
- Ensure the area is dry and free of dust before allowing foot traffic or equipment use.
- Conduct a final inspection to confirm uniform finish and quality across the space.
Sealing and burnishing protect the investment and give the floor its final polished look.
Polishing large commercial concrete floors is a multi-step process that delivers both style and strength. With proper surface prep, grinding, densifying, and sealing, the result is a low-maintenance floor that stands up to heavy use while looking professional and polished for years to come.

Comments are closed